Adding Oblique Slices
Image-Pro with 3D Module only
Adding a 'slice' to a volume allows you to view the pixel data that is present on a single plane in the volume. The Add Oblique Slice tool of the 3D View Options Panel allows you to add a slice at any orientation of the X, Y, and Z planes.
To add an oblique slice:
Click on the Add Oblique Slice button in the menu bar of the 3D View Options panel.
A slice is added to the volume in the default position (parallel to the XY plane):
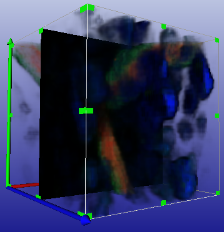
Additionally, an "Oblique Slice" group of controls is added to the 3D View Options panel:
Click on  to the left of the new "Oblique Slice" item in the 3D View Options panel.
The Oblique Slice controls for the slice you just added are shown.
Adjust the Slice position, Alpha angle, and Beta angle sliders to ideally position the slice in the 3D Viewer.
Slice position: Moves the slice up and down the axis of reference (whichever axis it is 'facing').
Alpha angle: Rotates the slice around the X axis.
Beta angle: Rotates the slice around the Y axis.
Tip: Alternatively, you can click on the Handles tool to show the slice's "dragger" interface -- a white cylinder that pokes perpendicularly through the slice. 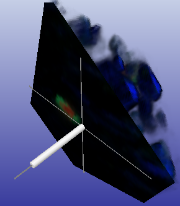
The dragger interface allows you to use your mouse to drag the slice through the data volume and change its orientation. To use the dragger, make sure the viewer is in selection mode (cursor is an arrow shape). Move the cursor onto the white cylinder, press the left mouse button and drag to move the slice. Move the cursor onto one of the gray lines, press the left mouse button, and drag to rotate the slice. You can also drag slices just by clicking and dragging the slice itself.
Once the slice is ideally positioned, click on the Clipping option in the Oblique Slice options group to show the slice surface view.
The surface of the slice is shown: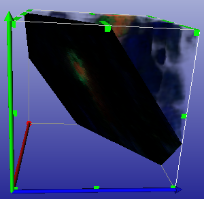
Multiple oblique slices can be added, as needed.
See also:
Learn more about all features in the 3D View Ribbon